- 首頁(yè)
- 關(guān)于我們
 南通市華東潤(rùn)滑設(shè)備有限公司成立于2003年初,是專(zhuān)門(mén)從事潤(rùn)滑設(shè)備研發(fā)、制造與銷(xiāo)售及服務(wù)的企業(yè)。
 - 產(chǎn)品中心
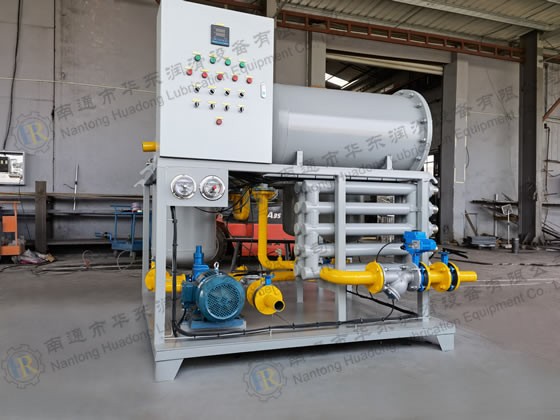
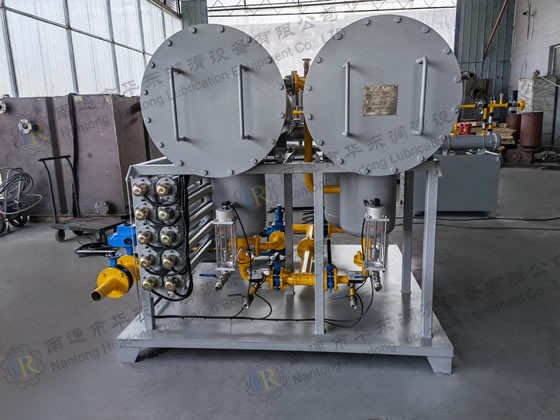
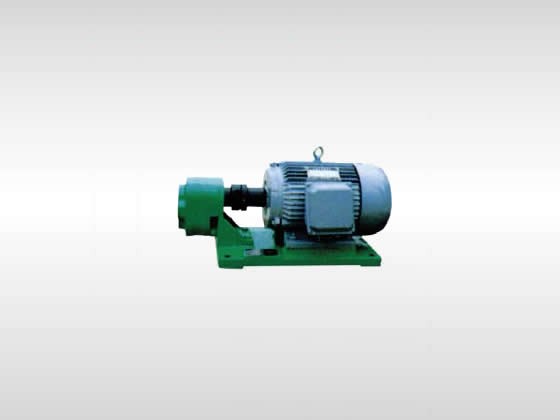
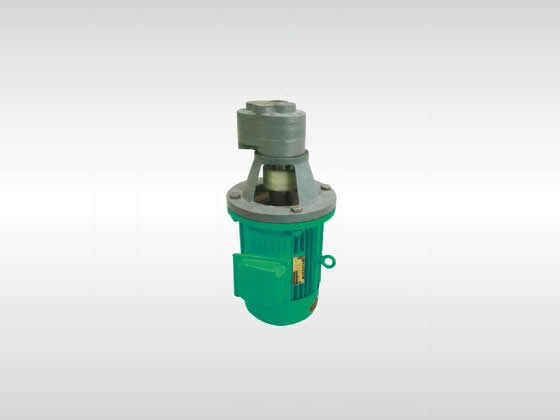
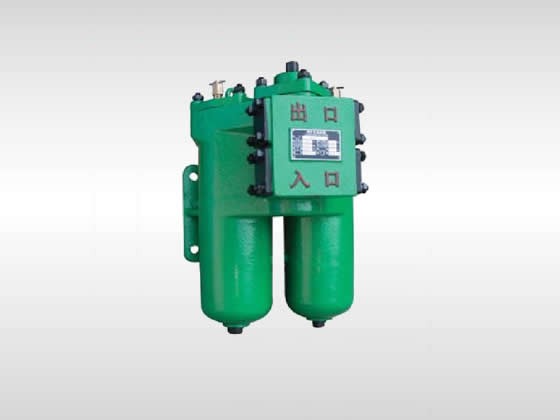
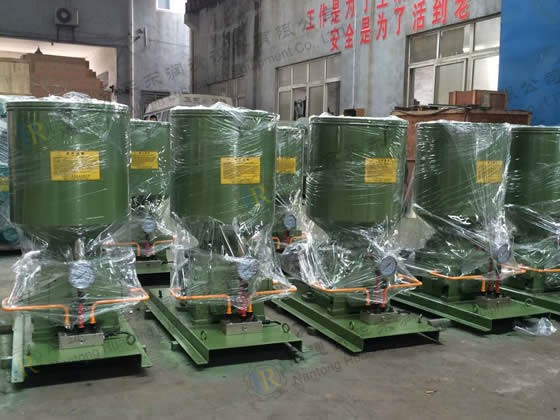
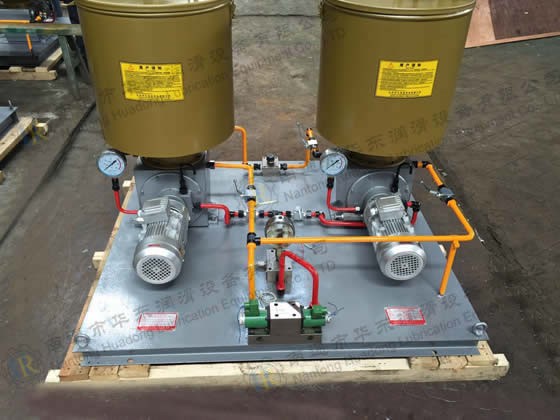
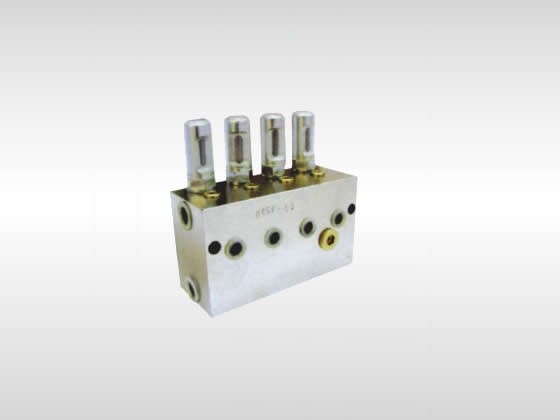
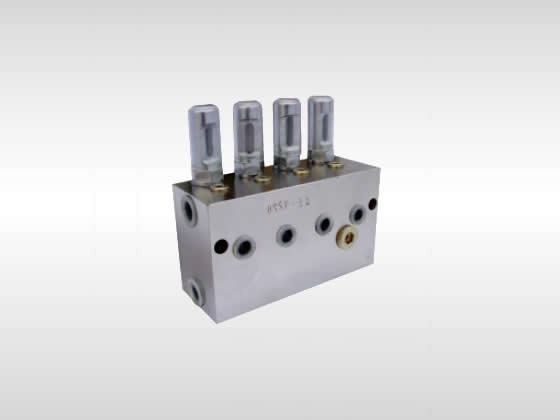
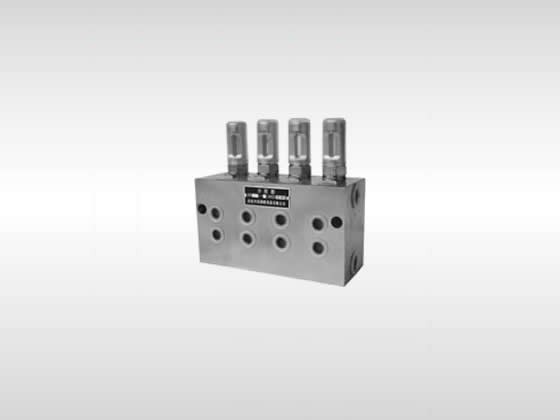
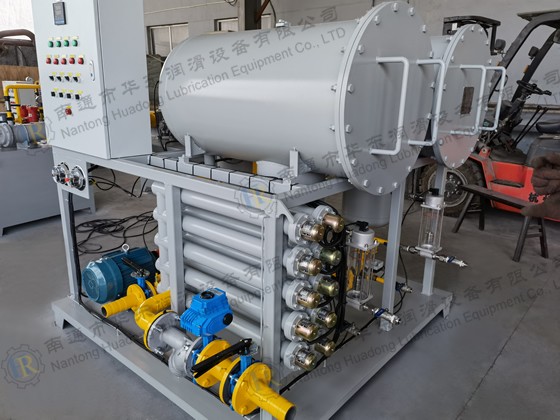
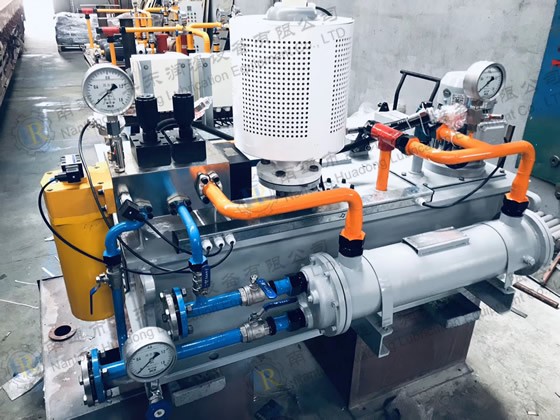
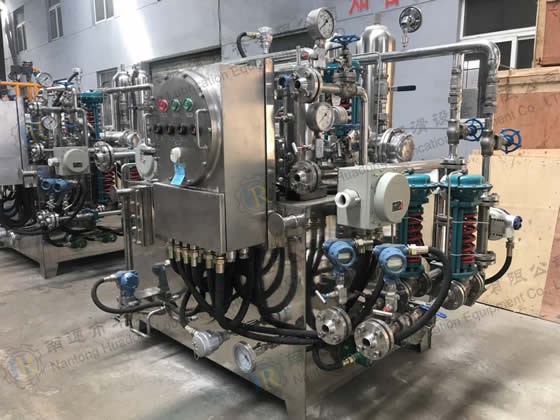
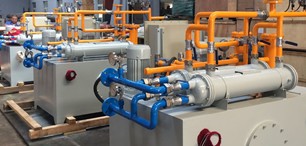 公司目前有干油潤(rùn)滑、稀油潤(rùn)滑、智能潤(rùn)滑三大類(lèi)產(chǎn)品。產(chǎn)品已廣泛應(yīng)用于冶金、礦山、重機(jī)、電力、化工、建材、石油、港口、碼頭、造紙、船舶、環(huán)保、軍工、機(jī)床等行業(yè)。
 - 新聞資訊
 聚集華東潤(rùn)滑實(shí)時(shí)動(dòng)態(tài),發(fā)布行業(yè)新聞資訊,歡迎您的關(guān)注!
 - 合作伙伴
- 解決方案
 公司經(jīng)過(guò)消化國(guó)際上先進(jìn)技術(shù)的基礎(chǔ)上,自主創(chuàng)新,研發(fā)了符合中國(guó)國(guó)情的全系列潤(rùn)滑產(chǎn)品。
 - 聯(lián)系我們
 歡迎來(lái)電來(lái)函咨詢(xún),我們將竭誠(chéng)為您服務(wù)!


文化")
設(shè)備")
榮譽(yù)")